
Are you concerned that installing a pergola might be complicated and time-consuming? With our easy-to-follow, step-by-step instructions, you can confidently assemble a DIY pergola on your terrace or in your garden—even without specialist knowledge.
This guide explains how to properly understand the assembly instructions and outlines the key steps for building a pergola. Discover how to construct your modern pergola in just a few simple steps—effortlessly and without hassle.
Building a Pergola: Two Preparatory Tips
Before constructing your pergola as a sun, rain, or privacy barrier, consider these two important tips. First, determine whether you need a building permit for your pergola. For example, some parts of Pennsylvania classify pergolas as ‘accessory structures,’ which may have less stringent permit requirements.
Sorting the pergola kit:
Begin by unpacking the pergola kit completely, preferably in a spacious area such as a corner of your garden or terrace. Familiarize yourself with all the individual components of the metal pergola kit. Sort the parts immediately by category—screws, dowels, crosspieces, and posts—to avoid wasting valuable time searching for materials during assembly.
Ensure all parts listed in the assembly instructions are included. Allocate sufficient time for this process; for example, our freestanding pergola with a slatted roof may arrive in four or more boxes that require sorting and inspection. Building your pergola yourself using a ready-made kit can save you a significant amount of money, especially when you rely on Grandsea’s extensive experience for careful planning.
Reading the Pergola Assembly Instructions:
Before beginning assembly, familiarize yourself with the PDF instructions. Our instructions primarily consist of clear diagrams with minimal text, enabling you to follow the steps efficiently. Should you have any questions not addressed in the instructions, our professional customer service team is available to assist you.
We recommend that you look for the relevant assembly instructions as soon as you receive the pergola.
You can erect your pergola in just four steps:
Step 1: Pour the foundation
To ensure your outdoor pergola stands firmly, build a level and sturdy foundation. Dig holes where the posts will be placed and fill them with concrete. Ensure the holes are spaced correctly—use a tape measure to verify the distances.
Step 2: Build the structure
Once the foundation is ready, proceed to build the structure. Whether your self-assembly pergola kit is made of aluminum or steel, the assembly steps are the same. First, secure the posts to the foundation using the provided screws. Next, remove the dowels and attach the crosspieces to the posts—using a ladder if necessary. Depending on your pergola’s size, you will attach four or six posts to the beams. After installing all beams, fasten the corners with the appropriate brackets. With these steps completed, your modern garden pergola is assembled.
Step 3: Build the pergola roof yourself
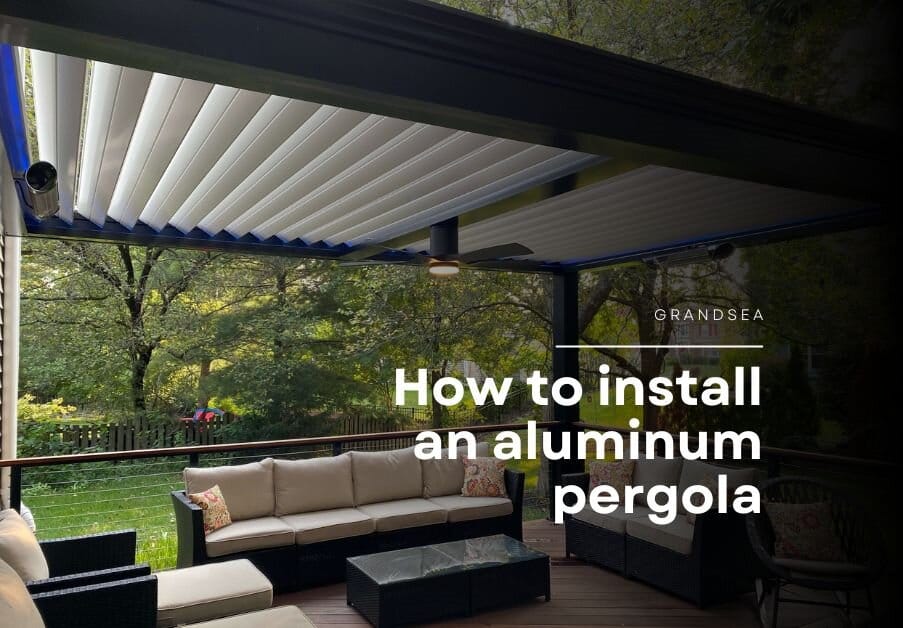
Our pergolas feature adjustable aluminum louver roofs. Begin by assembling the rail system, including the adjustment mechanism. Then, install the internal gutter and attach the slats using the appropriate screws. Finally, install the crank mechanism to operate the louvers.
Step 4: Control work
Finally, conduct a thorough inspection. Ensure all connections are secure, tighten any loose screws, and verify that all components are properly installed. Carefully check the stability of your patio pergola before use.
You may enjoy these related articles:
- Top 10 best pergola manufacturers
- louvered pergolas Cost: Everything You Need to Know
- Best Tips for Personalizing Your Custom Pergola
- Pergola VS Gazebo vs Parasol: Which is better?
- Which pergola is better: a louvre roof or a retractable roof?
- Aluminum or Wood Pergolas – Which One Fits Your Needs
- Buying or building a pergola?
- How to Choose the Best Louvered Pergola for Your Backyard
- How to find the right pergola?
- Best Tips for Personalizing Your Custom Pergola
- How should I design my pergola?
- What size should I choose when buying a pergola?

